How to use StaffRegister
Every screen you will meet, in the order you meet it — setting up your branches and staff, running an ordinary day, and closing the month. The screenshots are the current release, captured against demo data.
First-time setup
Install the app and open it
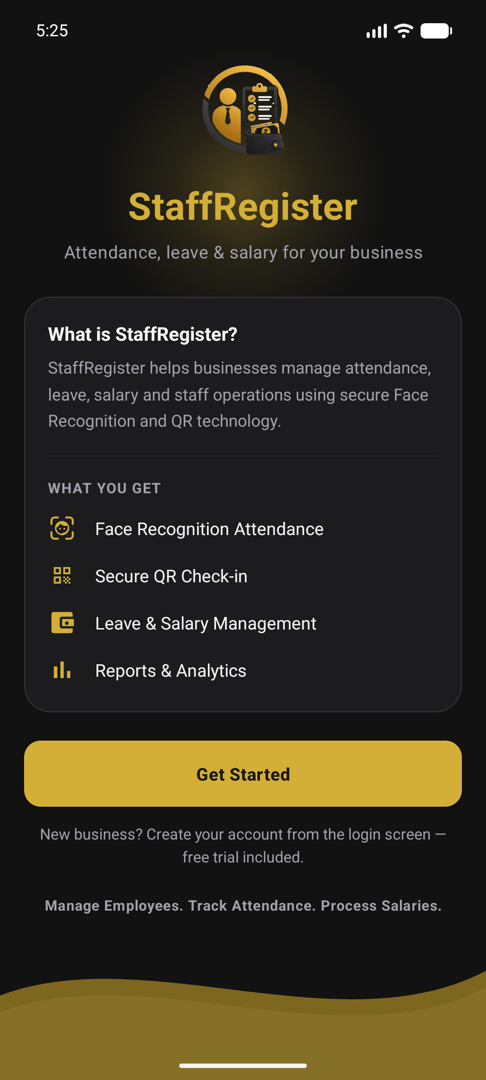
Welcome screen listing face recognition attendance, secure QR check-in, leave and salary management, and reports
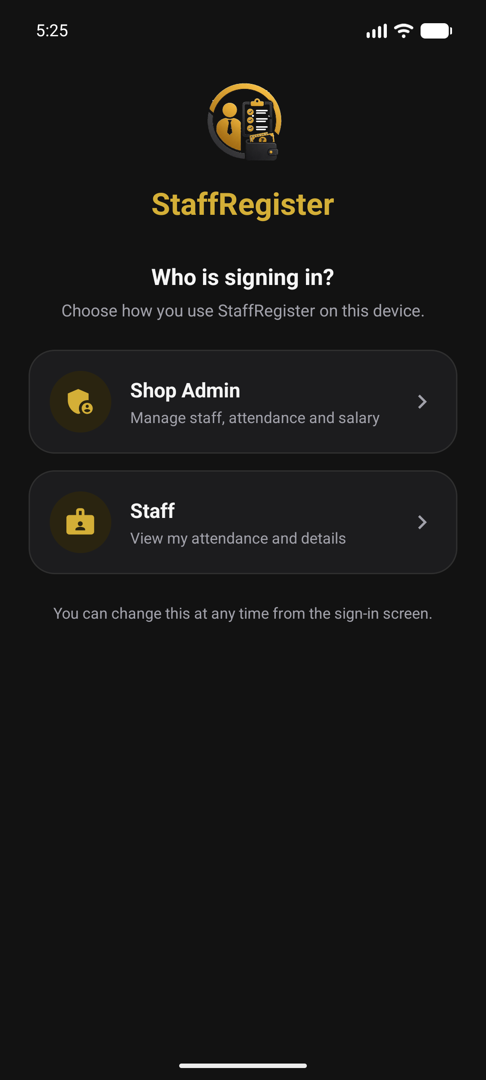
Choose whether you are the owner or the staff
Role selection screen offering an Owner / Admin card and a Staff card
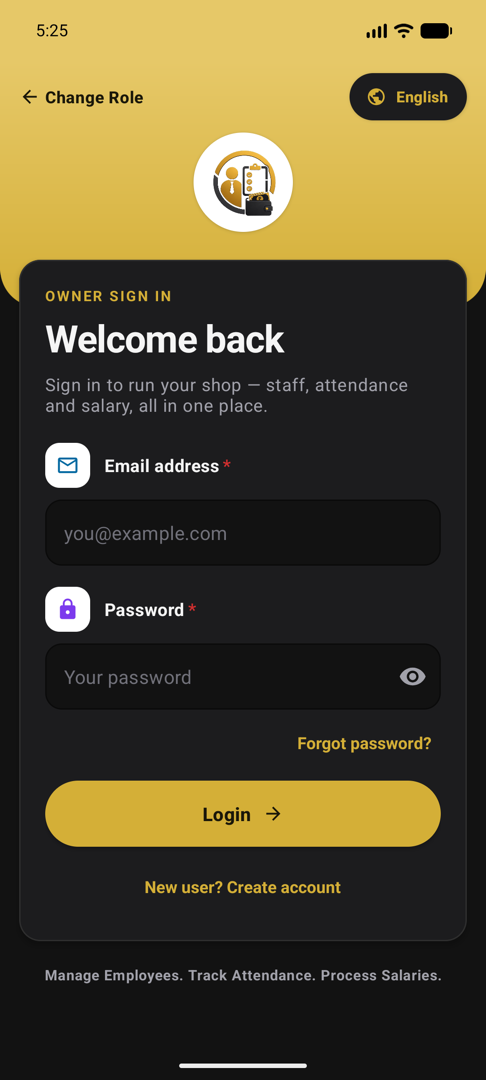
Create your account
- Tap New user? Create account and sign up with your email. Your free 7-day trial starts immediately with every feature unlocked, and no card is asked for. After that, sign in with the same email and password whenever you open the app.
Add your branches
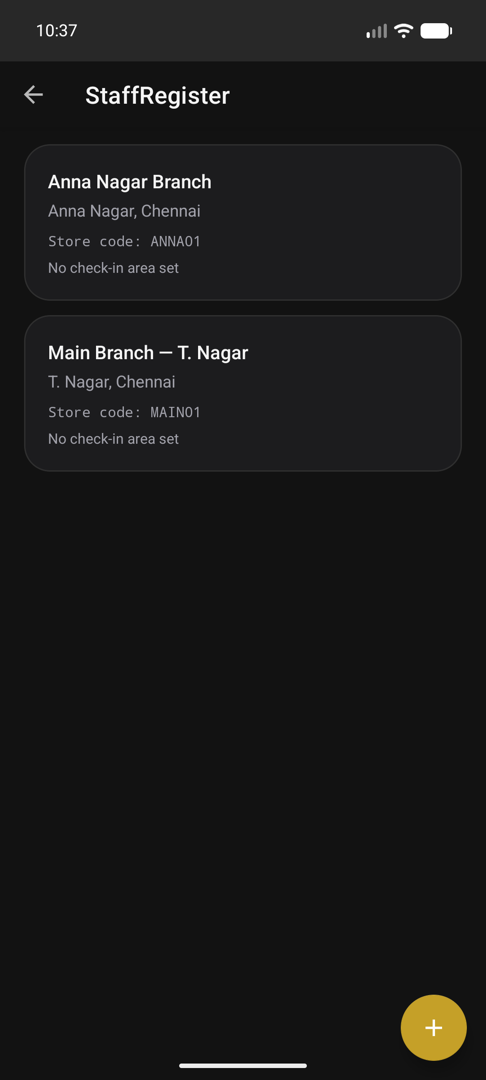
Manage Shops screen listing two branches with their store codes and check-in area status
- Add your employees
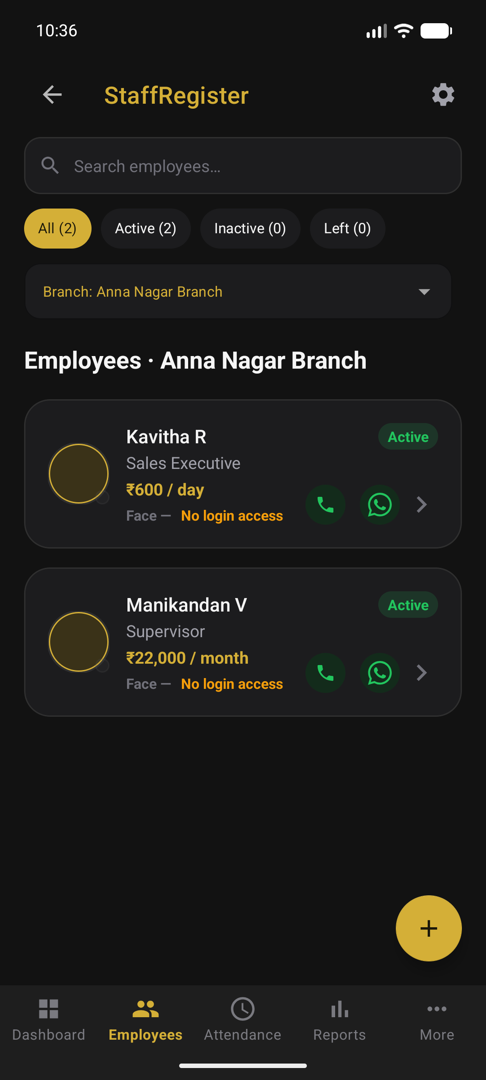
Employees list for one branch showing two staff with their roles, pay rates, and face and login status
Enrol each face, and hand out logins
- Open an employee and choose Enrol Face, then take the three prompted photos in ordinary shop lighting. Enrolment produces a mathematical template stored on our servers — no photograph of the face is kept on any phone. Give the same employee login access and they can install the app and mark their own attendance.
- Every day
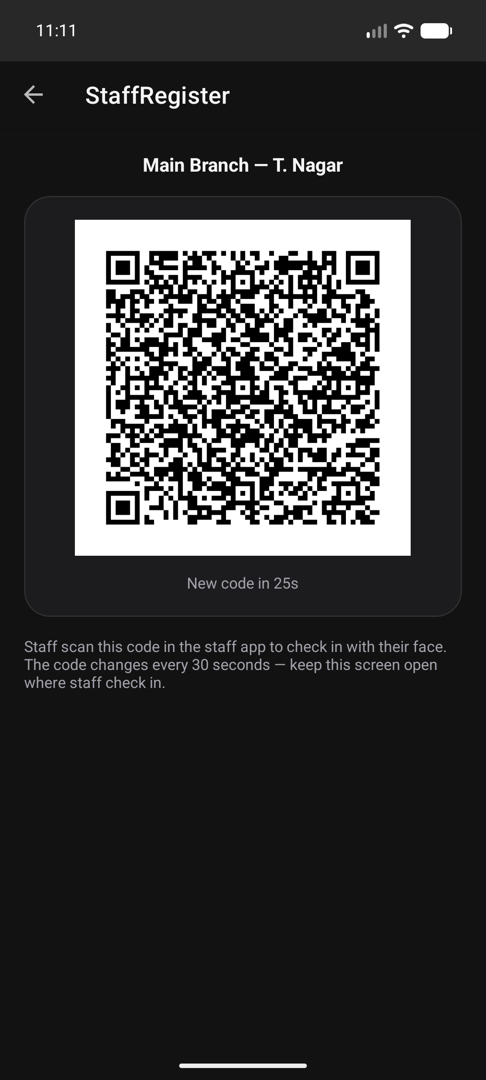
Attendance QR screen for Main Branch showing the current code and a countdown reading "New code in 25s"
Watch the day from the dashboard
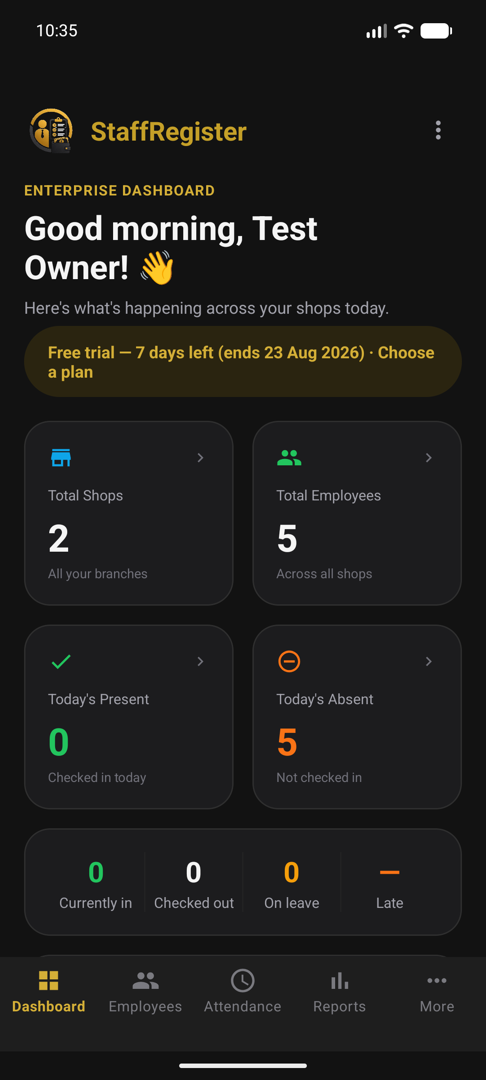
- The dashboard is the whole business on one screen: how many shops and employees you have, who is present, who is absent, who is currently in, who has checked out, who is on leave and who arrived late. Each card opens the list behind the number.
- Owner dashboard showing total shops and employees, today\'s present and absent counts, and a row for currently in, checked out, on leave and late
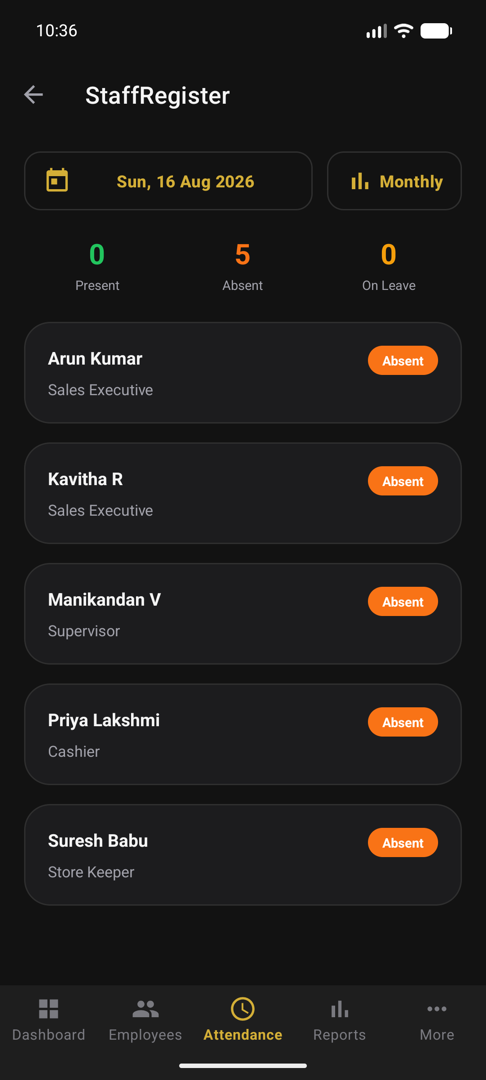
The Attendance tab holds the day\'s record for a branch. Mark someone present who could not check in, record a late arrival or an early departure, and edit an entry that was recorded wrongly. Edits are gated behind your admin PIN and written to an audit log, so a corrected day is still an accountable one.
Attendance screen for a branch showing the day\'s entries and the controls to mark or edit attendance
- At month end
- Approve leave as it comes in
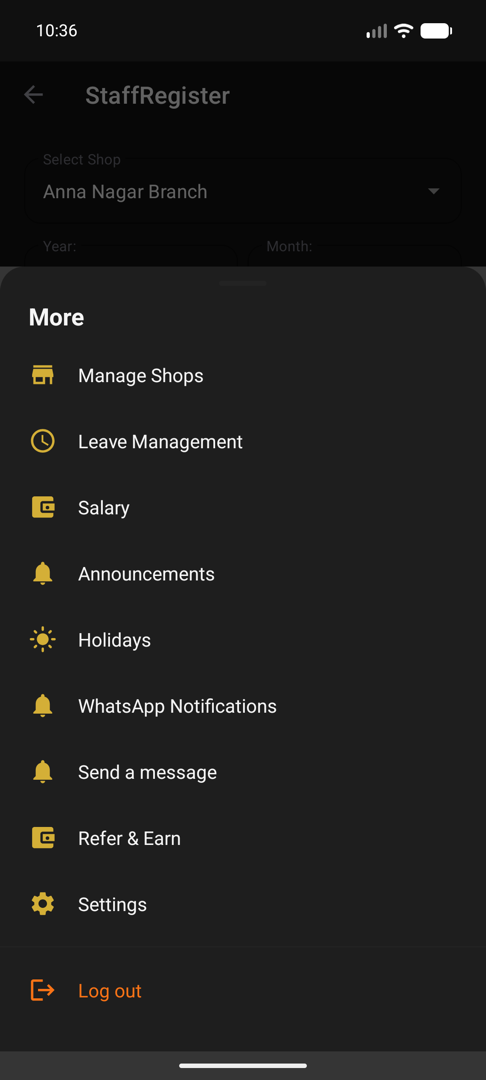
The More menu listing Manage Shops, Leave Management, Salary, Announcements, Holidays, WhatsApp Notifications, Send a message, Refer & Earn and Settings
Generate salary
More → Salary computes each employee\'s pay from verified attendance: their rate, days present, approved leave, overtime, and any advances you have paid out during the month. Review it before you mark anything paid — the figures are shown per employee, not only as a total.
Download the month\'s report
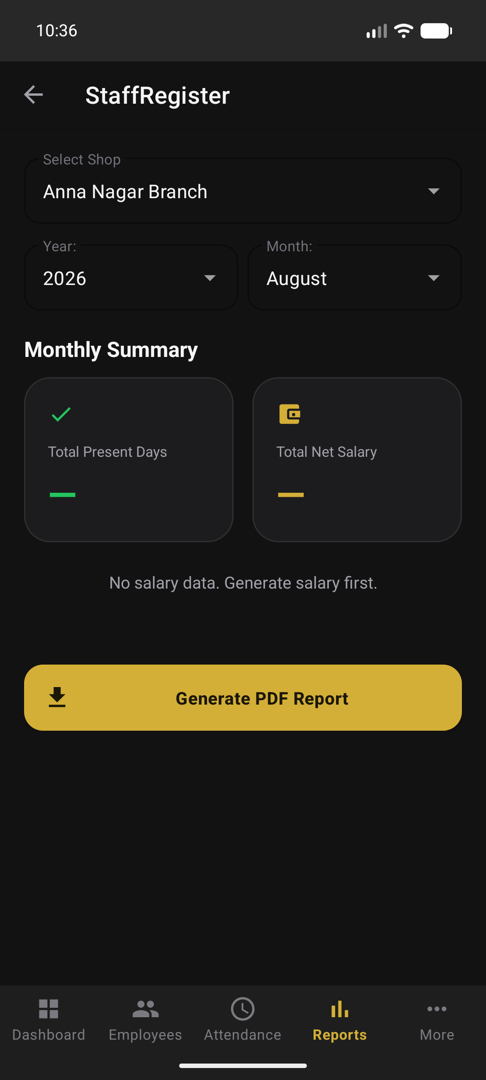
- The Reports tab produces the branch\'s monthly summary — present days and net salary per employee — as a PDF you can keep, print or send to your accountant. Choose the branch, the year and the month, then Generate PDF Report.
- Reports screen with branch, year and month selectors, a monthly summary of present days and net salary, and a Generate PDF Report button
Switch on WhatsApp alerts
More → WhatsApp Notifications controls what your employees are messaged automatically on their own numbers: check-in, check-out, late arrival and absence. Each is a separate switch, per branch, so a branch that wants only absence alerts gets only those.
Use an email you can receive mail at — it is how a forgotten password is reset.
"No check-in area set" means location checking is off for that branch until you set its coordinates and radius.
The card shows two things at a glance: whether a face is enrolled, and whether the employee has login access to their own phone.
Filter by branch with the dropdown, or search by name once the list grows.
An employee without a suitable phone needs no enrolment: mark them present yourself from the Attendance tab.
A PIN you reset for an employee is temporary and expires after 24 hours — they should sign in and choose their own, which does not expire.
s to take.
If a check-in ever fails, mark that person present yourself — it is recorded as an admin-marked entry, so the day\
- Advances are recovered in instalments, capped so that recovery never takes more than half of what is due in a month.
- Marking a salary paid is PIN-gated and reversible, in case you tap it on the wrong row.
Salary and leave messages are being enabled as WhatsApp approves each message type — every one is approved individually, so they arrive in pieces rather than all at once.
Salary receipts and staff login details open in WhatsApp with the message written for you to review and send yourself. _2 strings · 59 characters_
Keeping staff informed
Optional, and switchable per branch.
Switch on WhatsApp alerts
More → WhatsApp Notifications controls what your employees are messaged automatically on their own numbers: check-in, check-out, late arrival and absence. Each is a separate switch, per branch, so a branch that wants only absence alerts gets only those.
- Salary and leave messages are being enabled as WhatsApp approves each message type — every one is approved individually, so they arrive in pieces rather than all at once.
- Salary receipts and staff login details open in WhatsApp with the message written for you to review and send yourself.
Stuck on something this page does not cover?
The FAQ answers what owners ask most often, and we reply to messages ourselves.